ESP32-S3 seismo
A desk seismometer you can wire yourself — thump the table, watch the intensity climb on the TFT.
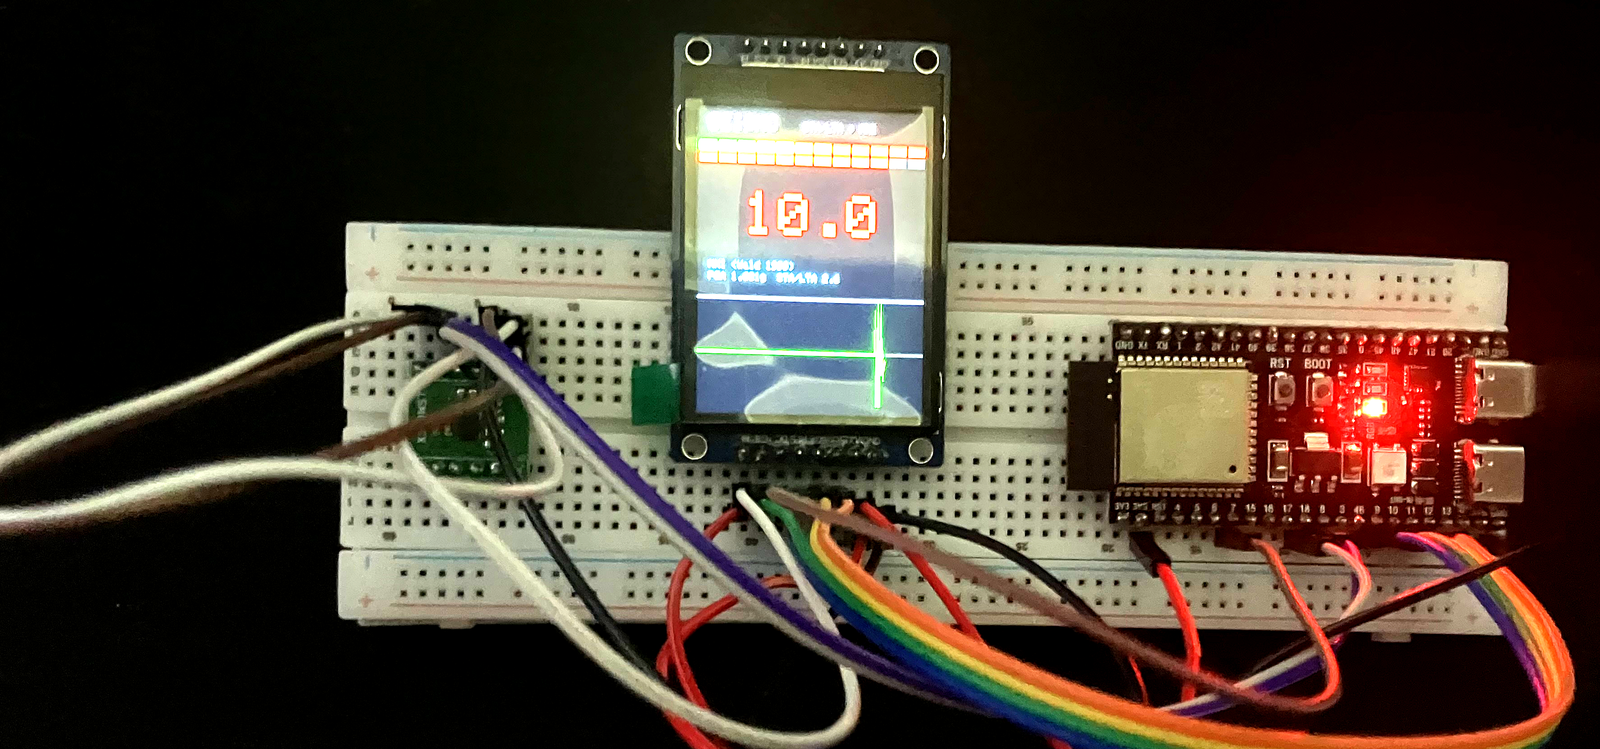
The finished station — a desk slam drives MMI to 10, orange bar full, waveform spiking.
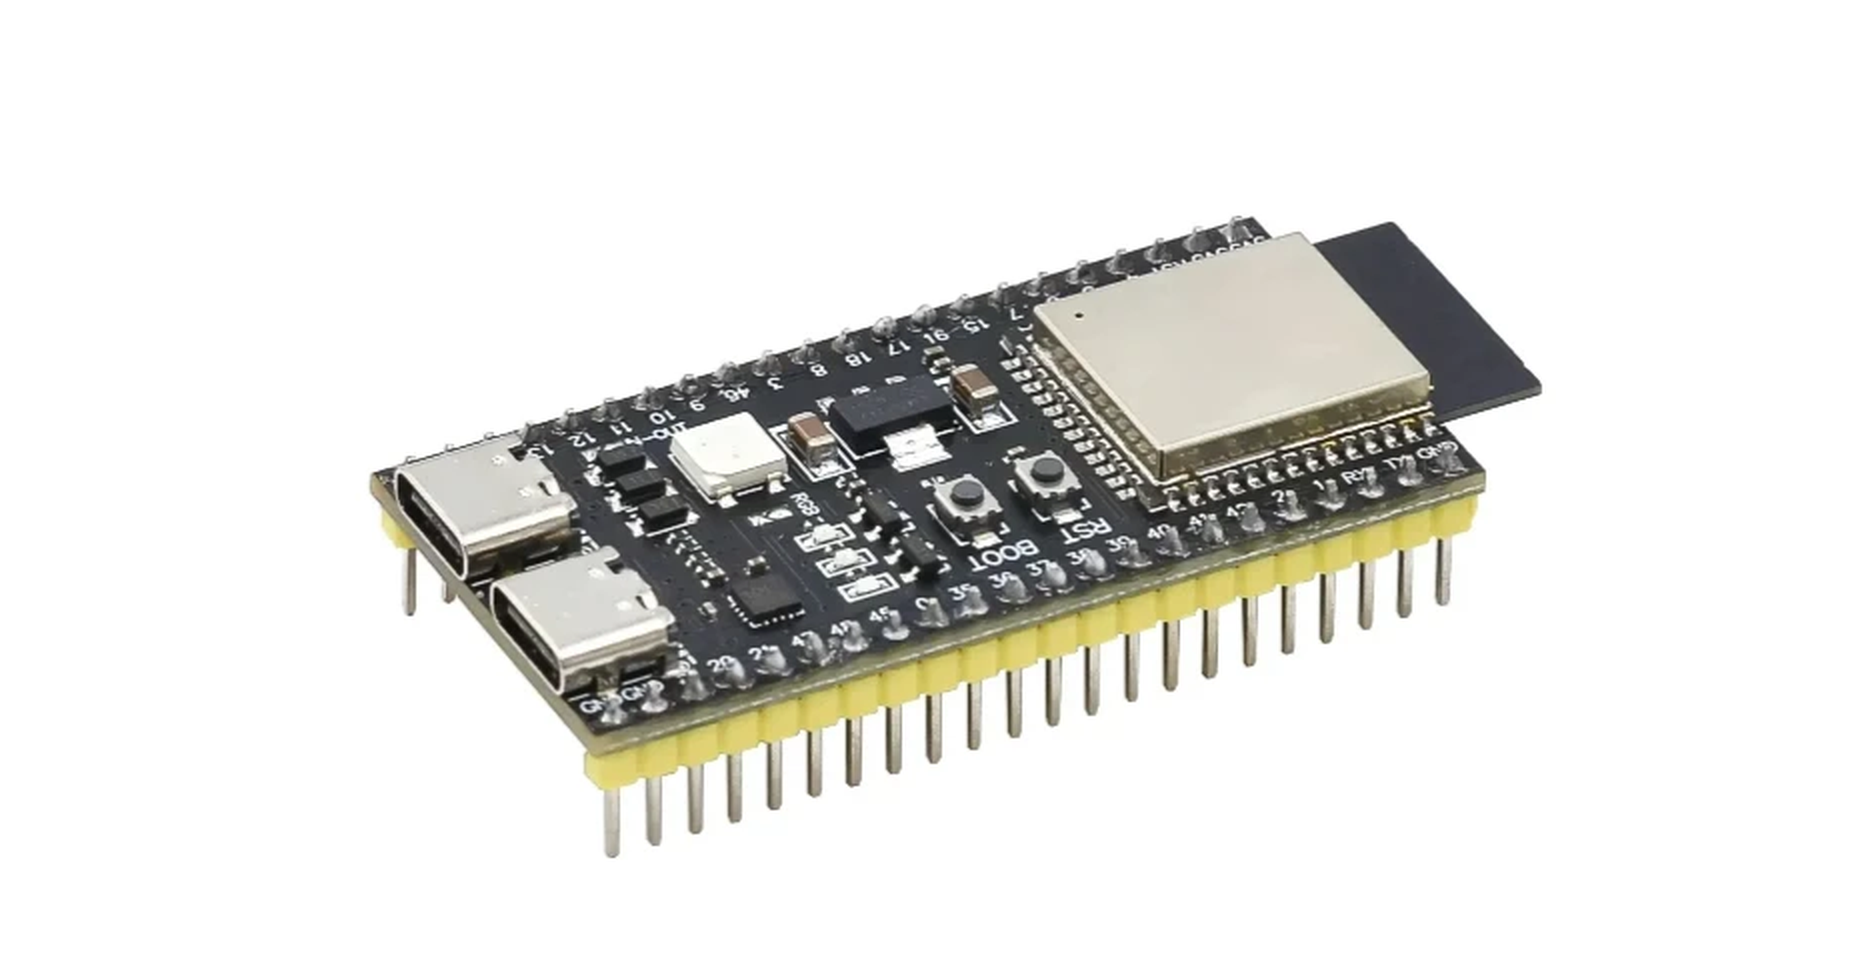
N16R8, dual Type-C — the brain of the station.
Story
This started as a parts pile: an ESP32-S3, a cheap LSM6DSO breakout, and a bright little ST7789. The goal was never a fleet or a cloud pipeline — just a local station on Ubuntu you can follow phase by phase, until a desk thump lights EVENT and a Wald-style MMI number.
v1 bring-up runs through Phase 7 and is done. Each phase stays a frozen snapshot so you can replay the exact path; later extras (buzzer, microSD, SoftAP) land as new folders, never rewrites of old ones.
A learning demo, not a real seismometer
This is a bench project to learn the sensor → display pipeline. A breadboard IMU isn't calibrated or ground-coupled, so the MMI readout is illustrative only — not a real earthquake measurement.
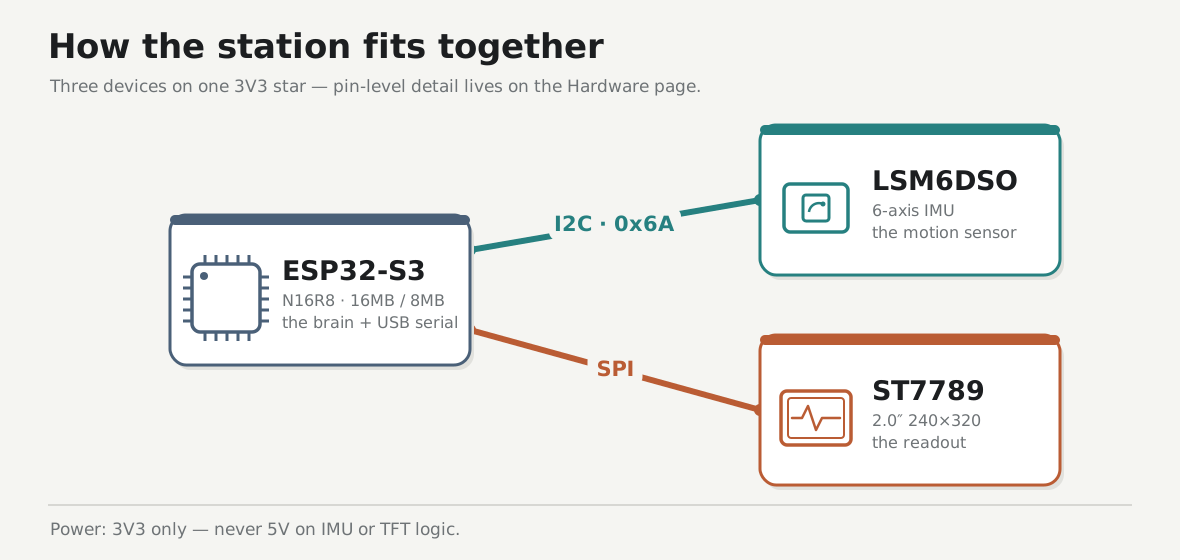
The shape of it — S3 talks to the IMU over I2C and the TFT over SPI. Pin-level wiring is on the Hardware page.
Start here
Runs on Ubuntu. Follow the phases in order, one checkpoint at a time.
| Doc | Role |
|---|---|
| Prerequisites | Install the tools — assume nothing |
| Hardware | Parts, pin map, wiring |
| Firmware | Per-phase firmware/<nn>-…/ folders |
| Phase 0 → 7 | The bring-up walkthrough, one checkpoint at a time |
| Lab log | Bench scoreboard — wins and failures |